

I have been asked a couple of times how I paint my Death Korps of Krieg and considering a certain release coming out this Saturday, I figured I would share it.
And if you want to help me and the podcast out, use this link to purchase from Element Games and links to any products will be affiliate links.
I developed the scheme to be different from the army that I painted for Niki, which were very traditionally Krieg with blue French style uniforms.
These are my 510th Siege Regiment, and their uniform is a dark green greatcoat, grey trousers, dark green helmets and tan leather.
Their weapons also have wooden casings as I feel like they would want to ensure their equipment is manufactured as easily and as cheaply as possible.
Anyway let’s crack on, with a squad of Firing Infantry.
We start by priming all the models with black, in this instance I used Wilkos Satin Black.
All the paints I am using are all Citadel, apart from two Vallejo colours.
Step One
The first step is just getting on the base coats which are as follows.
- Greatcoats – Death Korps Drab
- Trousers – Mechanicus Standard Grey
- Leather – Steel Legion Drab
- Boots – Abaddon Black
- Leg Wrappings & Bed Rolls – Rakarth Flesh
- Armour, Weapons & Shovels – Corvus Black
- Weapon Casings – Mournfang Brown
- Helmets – German Dark Camo Green
- Gold – Balthasar Gold
- Silver – Leadbelcher

Step Two
The second step is super simple, an all over wash of Agrax Earthshade.

Step Three
The third step is to tidy up the great coat by relayering Death Korps Drab, leaving the Agrax Earthsade in the deepest recesses.
And then do the same to the helmets with German Camo Dark Green.

Step Four
The last step is just some highlights.
- Greatcoats – Loren Forest
- Trousers – Mechanicus Standard Grey
- Leather – Rakarth Flesh
- Boots – Eshin Grey
- Leg Wrappings & Bed Rolls – Karak Stone
- Armour, Weapons & Shovels – Skavenblight Dinge
- Weapon Casings – Mournfang Brown
- Helmets – German Field Grey
- Silver – Stormhost Silver

And That’s It
It’s a super simple scheme, not a lot to it and it looks nice on the table, dirty and subdued, just like the Death Korps of Krieg.
I like to combo it up with a muddy and wet basing scheme, which is more or less the same scheme as Duncan Rhodes has demonstrated on his website and I think it looks really nice.
If I were to start over, the helmets would be black as the German Dark Camo Green is influenced by the Heer helmets, which is something I was trying to avoid.

I know I am not the worlds best painter, I paint for fun and to a tabletop standard, but I am really proud of these and I enjoy painting them.
Here is the squad that I completed today.
Anyway, I can’t wait to try this out on the new plastic models and will be ordering the new Kill Team box.
- Mood:- Revitalised
- Caffeinated Beverages Consumed:- 1
- In My Ears:- Feel So Close – Calvin Harris
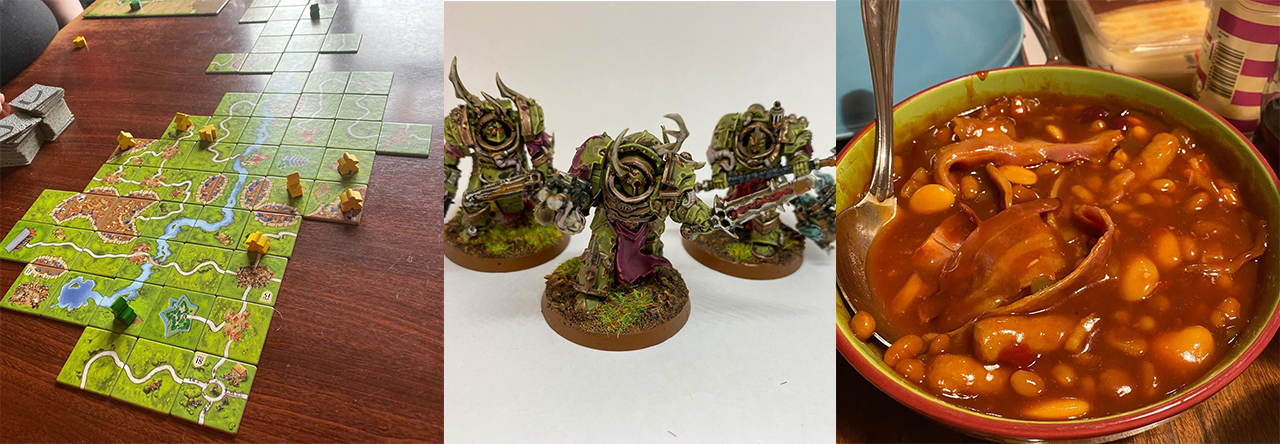
- Tabletop Game Last Played:- Carcassonne
- Video Game Last Played:- Battle Sister
- Book Last Read:– The Serpent and the Dead – Anna Stephens
- Movie/TV Show Last Viewed:- Star Trek: Deep Space Nine
- Current State of Projects:- Stormcast Eternals Vindictors Primed


